Armscyes and Will Your Bra Show
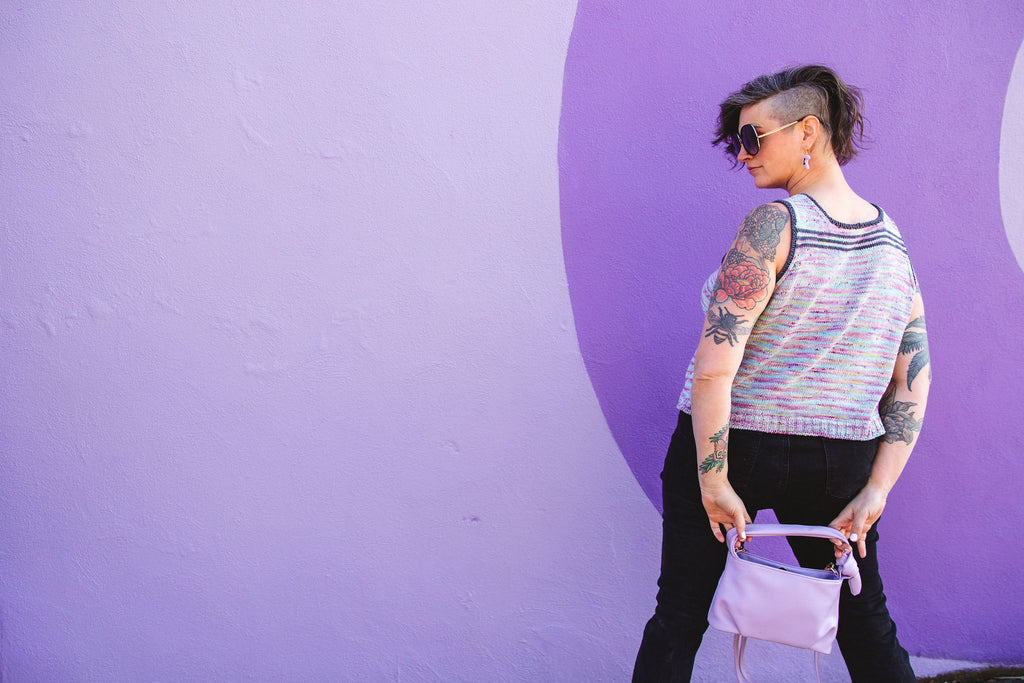
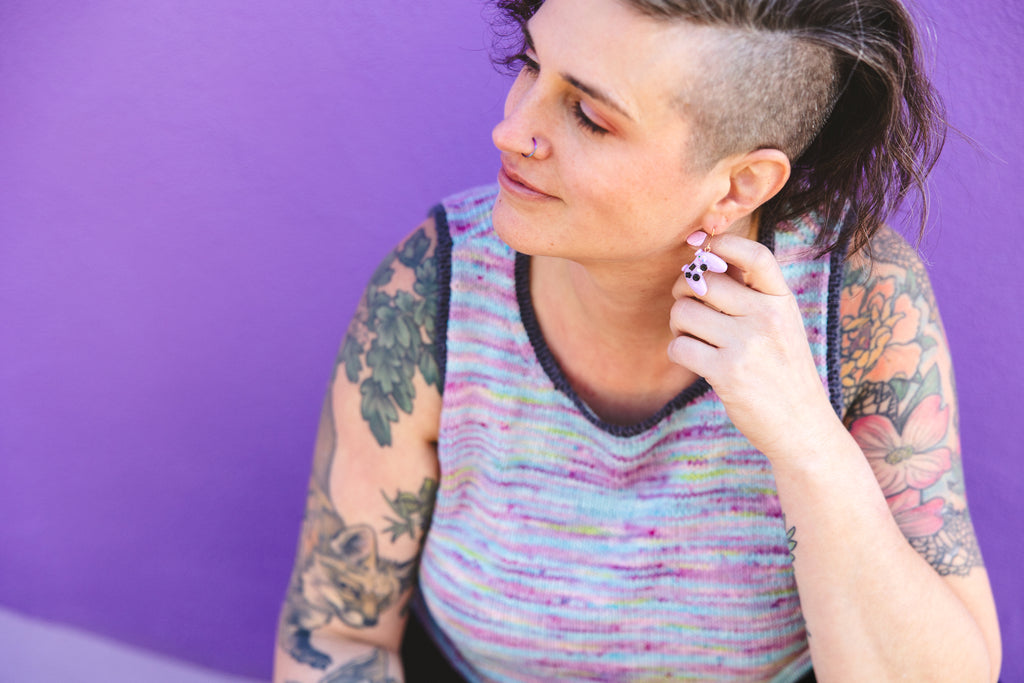
While running the UX Knits for Soft Walk and Betty's Mystique, we got lots of questions on armhole depth, AND some knitters were surprised with the fit of their finished garments, particularly in the armscye. This week, we've got a primer on armscyes, gauge, and how to knit your perfect tank!

Technically speaking,
Just like any other critical fit measurement, a pattern can provide a good starting point for armhole (or armscye) depth, but none of us is going to match all the dimensions on a sizing chart. That means you’ll always get your best fit by evaluating the schematic and your body and making adjustments.
Lots of things impact this measurement on your body, and we find it is an extremely variable measurement. The main things that seem to affect it are your height (if you are taller, this part of your body is likely to be taller), and how juicy your arm is in comparison to your body. If your upper arm circumference is larger than our size chart predicts for your torso size, for example, the place where your arm runs into your torso is also likely to be larger. Of course, these are just generalities!
As an example, even though Jen is a few inches taller than me and wears a sweater two sizes larger than me, our armscye depth is almost identical.
To figure out where the armhole will land in your size, take a look at the schematic’s armhole depth. If the trim is picked up and knit, it will not be included in that depth.
Measure your armscye - I particularly like Patty Lyons’ tutorial on this: you can find that here.
Subtract your armscye depth from the pattern’s armscye depth (less the trim!). That is how much room you will have under the arm.
As an exception, note that patterns with a lot of ease may drop down some at the sides, throwing that off.
In most cases, a good fit is between .5 - 1.5" of positive ease for the armscye. Note, a drop shoulder garment will not measure the armscye from the same point. One Wild Designs drop shoulder garments will tell you where that opening is meant to fall on your arm, and how much extra space we expect you to have at that point.

Don't forget about gauge
For many knitters, even after measuring and checking the schematic, there is still an issue with armhole depth after finishing a handknit garment. That issue is gauge.
Many knit tanks (including both of the Rare Birds tanks) are knit seamlessly from the bottom up. That means that the whole thing is knit in the round until the underarms, and the part that makes up the armhole is knit flat. Sometimes with extra skinny straps.
It's super common for knitters to experience a gauge change when going from knitting in the round to knitting flat. So common in fact, that both Jen and I have had this issue come up with samples we've knit recently and have had to rip back and reknit with a smaller needle.
The best way to avoid this is to know your working gauge. Working gauge is the gauge you're knitting at before blocking. It won't be the same as the gauge that you are matching in the pattern which is measured after blocking.
If you know your working gauge, after a few rows of the armhole you can check your work for a difference in gauge. You will need to knit about an inch to get a true idea because measuring too close to your needle will distort your gauge. If your working gauge has changed, change your needle sizes. In most cases you'll need to size down one or two needle sizes.
Want to go deeper? We've got a primer on gauge over in the articles section of One Wild!
Prefer video content? There's also an episode of the One Wild Broadcast all about gauge!
We hope these resources help you ensure your next knit is exactly what you planned it to be!
Have you had an issues lately with gauge? Leave a comment and tell me about it! I'll be over here, reknitting the front and back of a tank with a too big armhole and a gauge change issue!

