How to Knit Seamless Set-in Sleeves
Do you really, really, really, really hate seaming in a set-in sleeve in your knit garments? You're. not. alone.
Personally I love seaming a set-in sleeve. After precisely blocking my pieces, I seam the sleeve and the body parts separately, then I use stitch markers to "pin" the sleeve to the body. I use my tailor’s ham to support the curve as I sew, effortlessly gliding the the two pieces together. Beautiful. It’s like putting the last piece into a jigsaw puzzle. And I want that for you too!
Except.
In real life, things come up. Maybe you don’t have a tailor’s ham. Maybe your gauge is in the right neighborhood, but not exactly at the right address. Maybe you just know yourself, and if you have to seam that sucker in, it’s going to sit in the WIPs bucket for a year. All totally valid!
We hear you.
Here’s what we know from listening (and honestly, from snooping on the projects on our patterns on Rav) - seaming a set-in sleeve in is a pain point that reduces knitter success and depletes knitter joy.
Enter: Seamless set-in sleeve knitting

Listen, I’ll die on the hill that seaming is wonderful. Smaller pieces to work on, more checklist dopamine, and if I have to rip out, the scope of ripping is limited. And honestly, mattress seaming a straight vertical seam is a breeze. But what if we swapped that tricky armhole seam for easy short rows instead?
Confession: before I designed one, I’d never ever knit a seamless set-in sleeve. It felt like it was going to be “hard”, or fussy, or like it would be easy to mess it up. I’ve been wrong about a lot of things, but I’ve never been more wrong about anything in knitting.
Here’s the principle - our armhole and our bicep are not the same circumference. To make the bicep fit into the armhole, we need to make the top of the sleeve curved. Then the two pieces will fit together perfectly.
Putting seamless set-in sleeves into action
How a seamed set-in sleeve cap works
That’s how a seamed sleeve cap is calculated - starting with the armhole, you look at all the bind-offs, all the rows worked straight, and the hypotenuse of each rate of shaping to determine the circumference of the armhole.
You then back into the required height of the sleeve cap to create a slope that, together with the bind-offs on each side at the underarm and the bindoff at the top of the cap, fully allocates the armhole’s circumference to the sleeve cap.
You can see that there’s some precision here - and that’s why we always recommend blocking your pieces to measurements before seaming.
How a seamless set-in sleeve works
With seamless set-in sleeves, we typically use the formulas established by Elizabeth Doherty in her book Top Down: Reimagining Set-in Sleeve Design. In this methodology, you pick up all around the armhole using a different pick up rate for the top, midcap, and underarm areas. Generally, you’ll pick up into 90% of rows at the top of the cap, every other row in the midcap, and into every row in the underarm.
To work the seamless set-in sleeve:
1. Knit back and forth across the top of the cap, working short row turns. This is just like binding-off at the top of a seamed sleeve cap.
2. Work through the midcap, making turns regularly. These stitches are further apart and it’s intuitive to think that might result in gathering, but because you’re making short row turns, the geometry works out. The rows fill in the space between the stitches picked up.
3. As you approach the final turns of the midcap, you’ll probably need to work decreases. In most set-in sleeve constructions, the armhole is bigger than the upper arm. That means that the number of stitches we picked up around the armhole is more than the number of stitches we want for the upper arm - that means we need to reduce our stitch count. Working these decreases in the bottom part of the midcap mirrors the more dramatic shaping we see on a seamed cap.
4. Finally, work straight across the underarm stitches and start working in the round!
TL;DR: you can have the best of all worlds: Breezy mattress stitch on the vertical straightaways, quick 3-needle bind-offs for the shoulders, and seamless set-in sleeves.
Benefits of knitting a seamless set-in sleeve
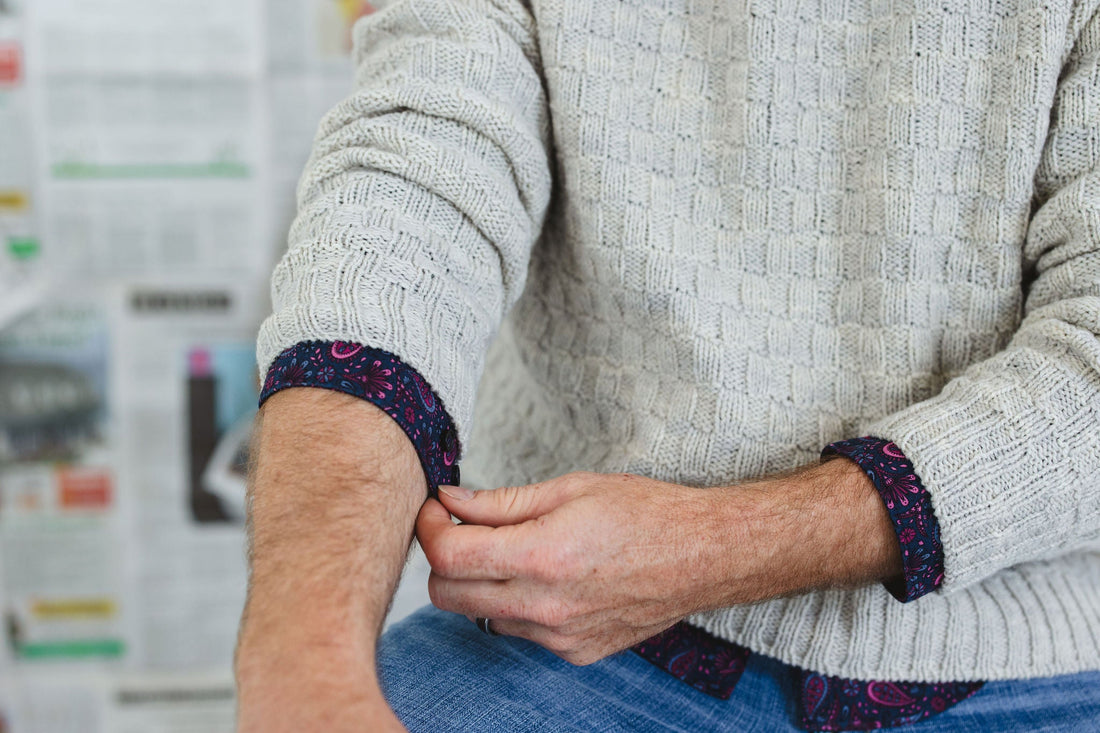
A handknit sweater with no seamed sleeve cap!
First of all, this can be a difficult seam to execute well. Eliminating that seam means more joy and a prettier finished object!
We love seaming because it adds structure. Fortunately, picking up and knitting does the same thing.
Picking up and knitting hides some minor gauge crimes. Yes, you still need to get gauge, but there’s a little more forgiveness here.
Beautifully easy knitting instructions
We use German Short rows. This is our preferred method because we always get a beautiful turn with no holes. It’s familiar to most of our knitters, because it’s the same turn we use for shaping shoulders, raglan necklines, and bust-darts.
We tell you where to place your markers, and how many stitches to pick up between them. There’s no fussy rates or guessing.
We include instructions for how to work the German short rows in the pattern. No need to reference an outside resource or tutorial!
Easy to customize
Aha! The instructions are easy to follow, but aren't One Wild patterns also supposed to be easy to customize?
Yeah buddy! The main benefit of a set-in sleeve is how easy it is to adjust each measurement compared to other constructions. If you want to adjust the yoke depth of your raglan, you've got to start at the neck. If you want a wider upper arm for your drop shoulder, you'll need to bake that adjustment into your plans while you're still working on the body.
But with a set-in sleeve, you can adjust each element independently. Specifically, it’s very easy to adjust the upper arm width, and it’s very easy to adjust the armhole depth. Let’s talk through how to make two quick and easy adjustments in the set-in sleeve.
Change your upper arm circumference
Let’s say you want to make the upper arm larger or smaller. Start by using gauge to determine how many stitches you want to increase or decrease, then make sure that number is even (so you can adjust on each side of the sleeve cap easily).
As you work the midcap, you’ll need to adjust the number of stitches decreased. If you want to add six stitches total, you’ll need to work 3 fewer pairs of short row decreases. If you want to remove six stitches, you’ll work an additional 3 pairs of short row decreases. That will either increase or decrease the number of short row pairs you work with no shaping. Voila - wider bicep!

Change the armhole depth
We aren’t all the same height, and you may need more or less depth in your armhole. This is an easy adjustment on the body - simply work more or fewer rows between the underarm shaping and the neck shaping. But what about the sleeve?
Changing the armhole depth will change the number of stitches you pick up in the midcap. Since you’re going to add rows in even pairs to the body, and we generally pick up every other available row in the midcap, that usually means that you’ll pick up one extra stitch on the front and one extra stitch on the back for every two rows you add to the body. Or conversely, you’ll pick up one fewer for each two rows you remove from the body.
As you work the midcap, you’ll need to account for these new stitches.
Adding length: For each pair of stitch you added to the front and back, you’ll need to work one more decrease short row pair and one less short row pair with no decreases.
Removing length: For each stitch you removed from the front and back, you’ll need to work one less decrease short row pair and one more short row pair with no decreases.In this way, you’ll use all the stitches, and arrive at the original upper arm circumference as shown in the schematic.
Why do you need to adjust one rate down and one up? Each decrease uses two stitches - you've got to knit two together, right? So if you want to eliminate one more stitch, you've got to work an extra decrease, but that decrease will use two stitches. That means you'll have one less stitch available to make those short row turns that are made every stitch.
Ready to cast on an ultrawearable seamless set-in sleeve tee? Sappho's Love is our end-of-summer transitional piece using the fan fave Meadow, available in 27 colors. And we are so excited to debut our first pattern graded on our Men's Size Chart. Who Could Stay gives you the best of all our favorite construction techniques, including seamless set-in sleeves.
1 comment
SAQxNOsMyb